
Please read the full disclosure for more info. 💚
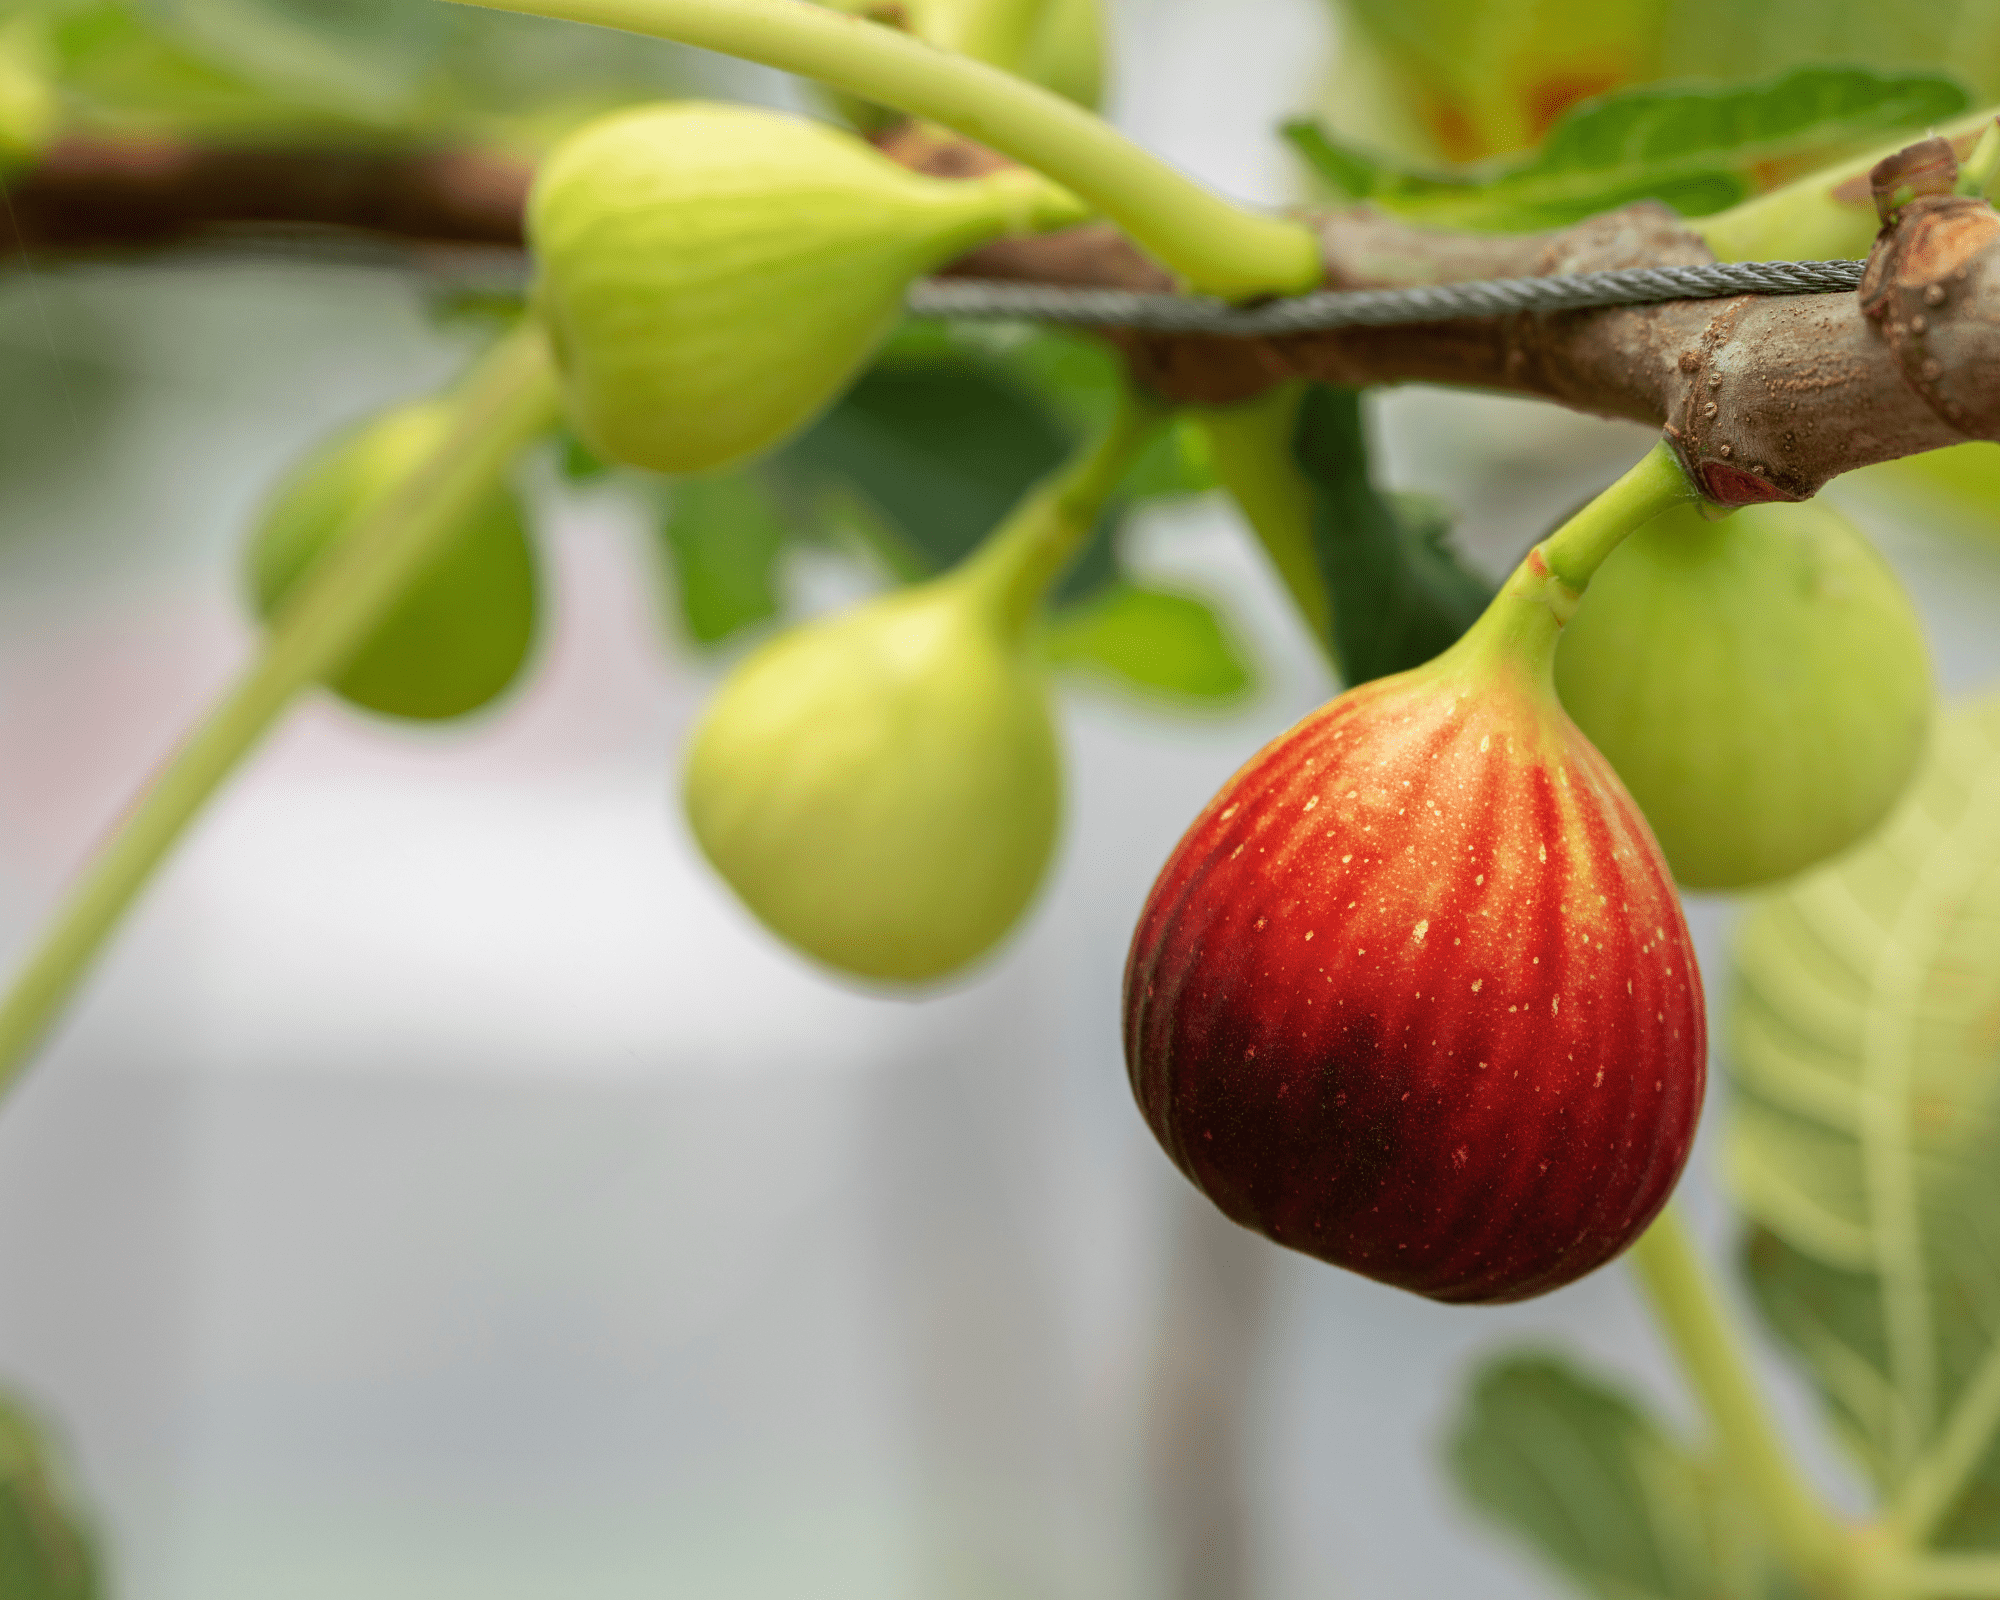
Today is the day! After all the research and planning, I finally get to plant my Raspberry Latte Fig trees . I can’t tell you how excited I am to watch them grow from tiny saplings into beautiful, fruitful trees. But before I get ahead of myself, I want to share the step-by-step process of planting a fig tree, from preparing the soil to putting it in the ground.
Step 1: Choosing the Right Spot
The first thing I had to figure out was the perfect spot for my fig trees e. Figs love the sun, so I needed a place that gets full sun for most of the day—at least 8 hours. Luckily, I have a sunny and wide terrace that gets just the right amount of sunight.
I also made sure it was a spot where the trees would have plenty of room to grow, because fig trees can spread out quite a bit. You don’t want to crowd it too much, or the tree won’t thrive.
Step 2: Preparing the Soil
Figs like well-drained soil, so I made sure to loosen up the ground and improve it with some organic matter. I mixed in some compost to give the soil a nutrient boost, which is key to helping the roots establish themselves. If you’re planting in heavy clay or very sandy soil, you might want to amend it with additional organic material to make sure the tree can take root easily.
Step 3: Preparing the Pot
Next, I filled three gallon pots with a well mixed soil medium comprising with compost, coco peat, burnt and fresh rice hull and perlite in the right proportion I prepared earlier Then I dug a hole in the pot just deep enough to hold the trees’ roots without crowding them. I also made sure to keep the top of the root ball level with the surrounding soil, so the trees won’t get waterlogged or have trouble growing.
Step 4: Planting the Tree
Once the pots were ready, I made a hole in the middle of each pots and gently placed the fig tree in the hole and filled it in with the soil I had mixed up earlier. As I filled the hole, I made sure the trees were standing straight and properly positioned. After that, I gave each pot a light watering to help settle the soil around the roots.
Step 5: Mulching
To keep the soil moist and prevent weeds from growing, I added a layer of mulch around the base of the tree. I used organic mulch, like wood chips,or fresh rice hull because it helps maintain moisture levels and enriches the soil as it decomposes. Just be careful not to pile the mulch right up against the tree’s trunk, as it can encourage rot.
Step 6: Watering
After planting, I gave my fig trees a good drink of water. Figs don’t like to sit in soggy soil, but they do need consistent moisture, especially when they’re grown in pots and in the first few weeks they’re getting established. I have to water it regularly considering they’re grown in a warmer place, but I make sure the soil is well-drained.
Conclusion
And that’s it! The planting is done. I can’t wait to see how my fig trees do over the next few months. I’ll be sure to keep you updated on its progress. Tomorrow, I’ll be talking about how to care for youung fig tree—from watering to pruning, and everything in between. Stay tuned! Check for Day 4 Here! 🌱